Step 1 - Adding UBO / Authorized Signatory
As a requirement for compliance with Know Your Client (KYC) and Anti-Money Laundering regulations, companies intending to open an account with Knit must provide details regarding all ultimate beneficial owners of the business as well as any individuals authorized to sign on behalf of the company.
Ultimate beneficial owners refer to individuals or companies that hold a direct or indirect ownership stake of 25% or more in a corporation or entity.
Step 2
Once the information of the ultimate beneficial owner or authorized signatories is entered into the form, Knit will proceed to send an email invitation to the respective individual, prompting them to complete the identity verification process.
Step 3 - Terms & Consent

Before individuals engage with the identity verification process, they are required to provide consent to our partner's Terms of Use, Privacy Statement, as well as the use and retention of biometric data.
If the user declines to provide consent, the identity verification flow will be concluded, and they will be redirected directly to an end screen.
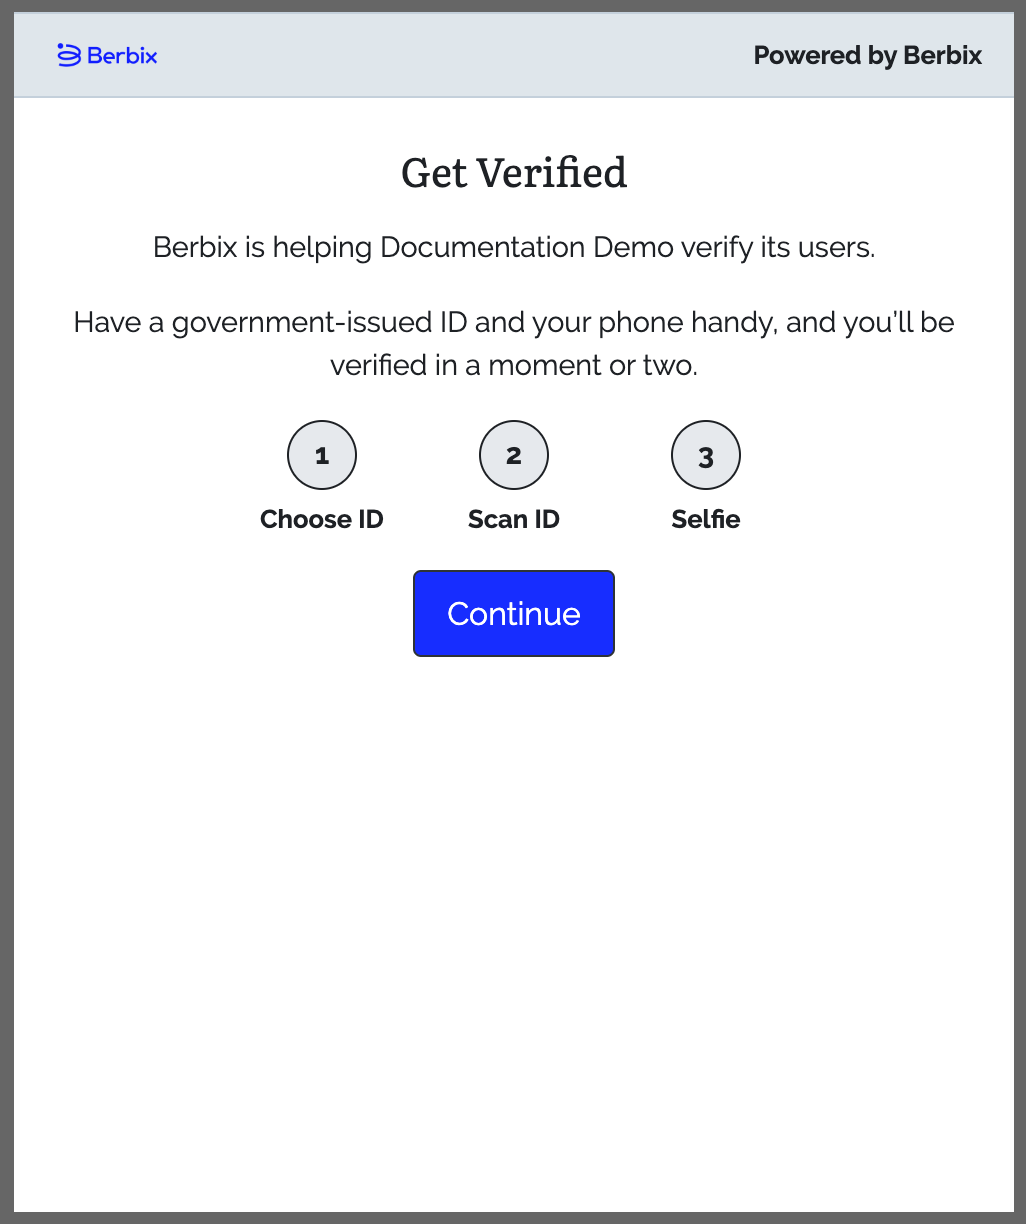
Step 4 - Overview
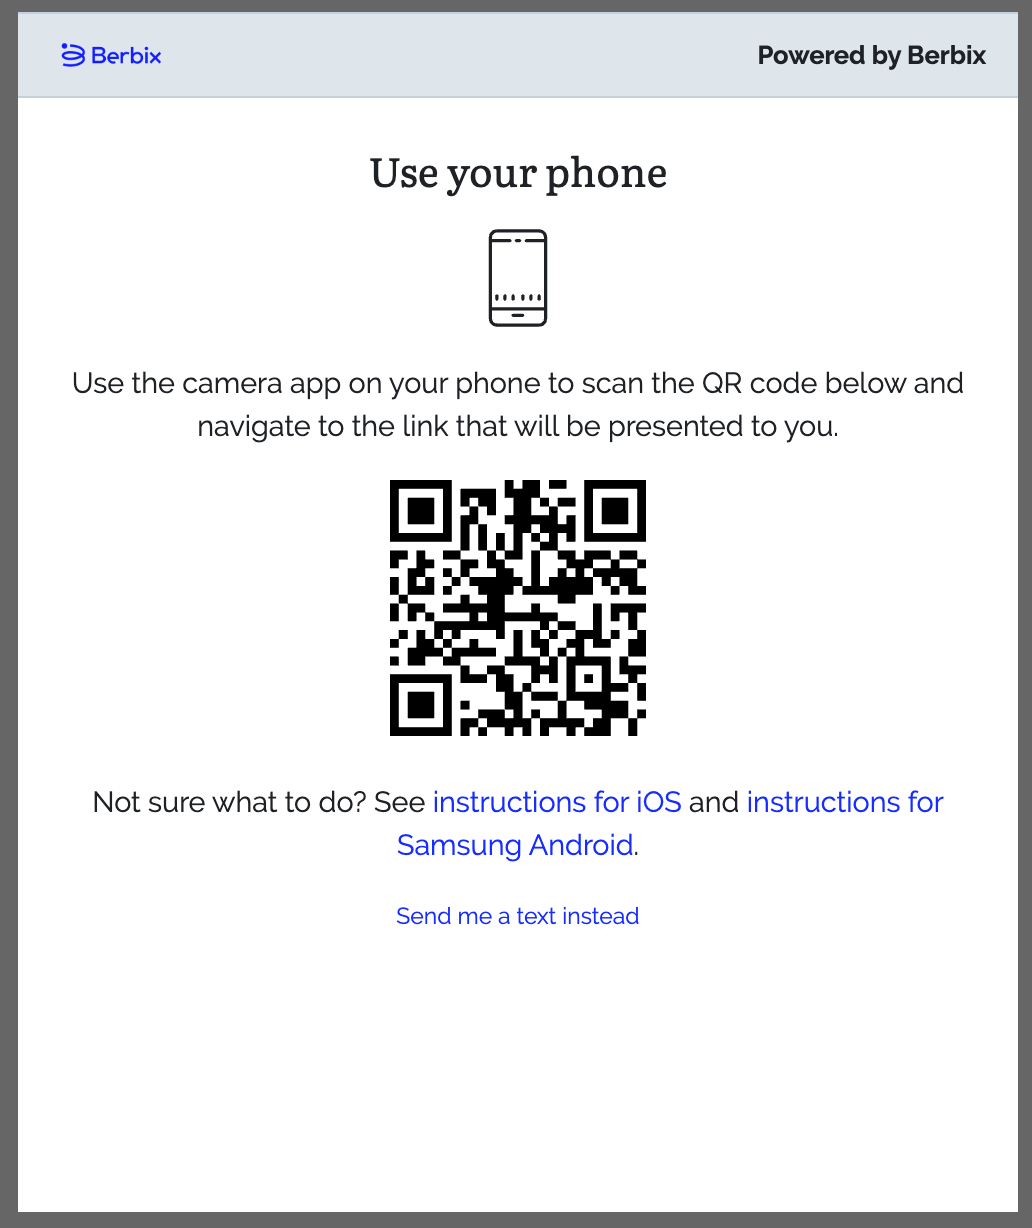
Step 5 - Mobile Handoff (Desktop Only)
If the individual begins verification process on a desktop device, they will be prompted to handoff to a mobile device.
Step 6 - Document Selection
From the individual's mobile device, they will be prompted to choose their ID type.
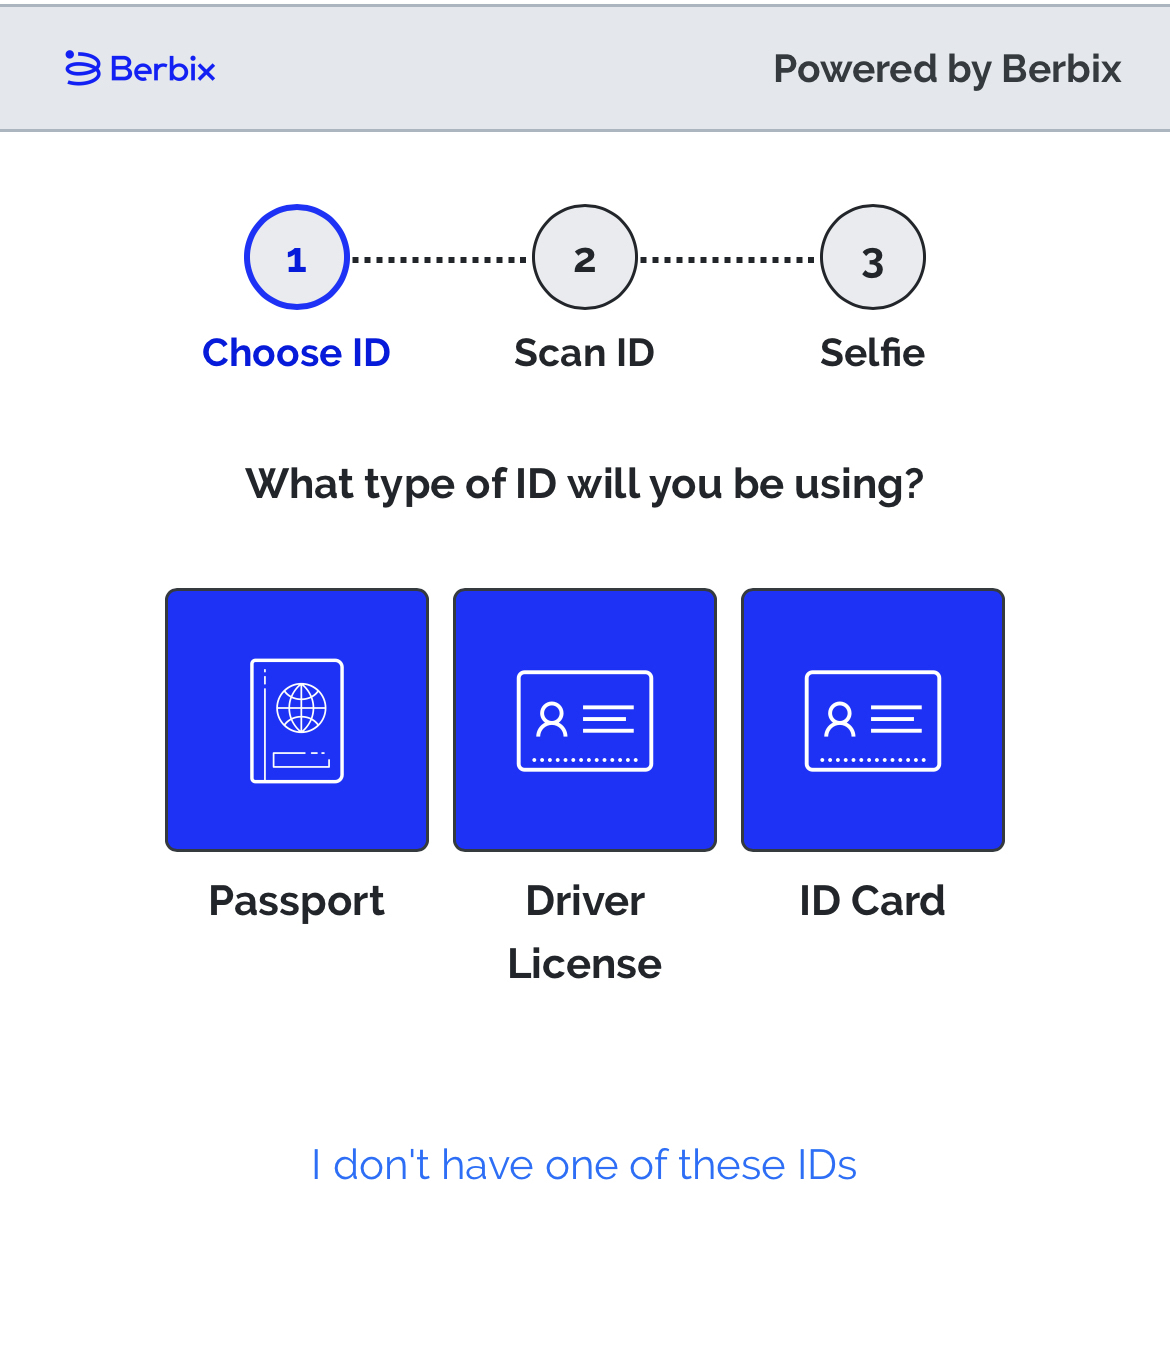
Step 7 - Front Image Capture
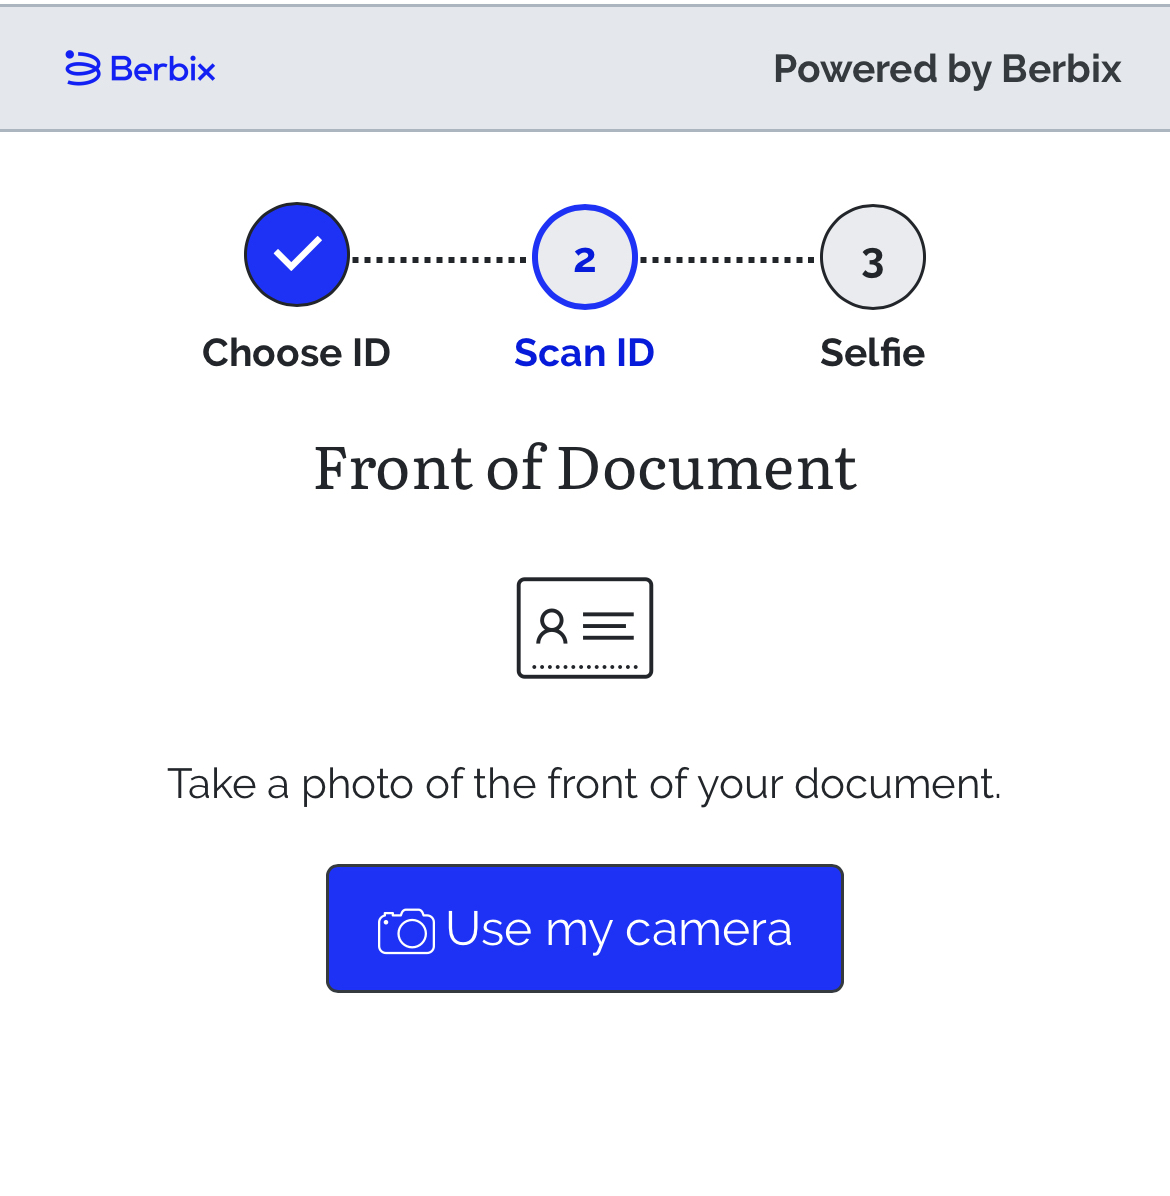
Next, the individual is prompted to scan the front of their ID.
When the user centers the front of their ID with the guidelines on screen, we automatically take the photo and prompt the user to confirm that it looks good. The user may also manually take the photo using the "Take photo" button.
Step 8 - Back Scan
Next, the user is prompted to scan the barcode on the back of their ID. In most cases, we automatically capture the information when the on-screen guidelines match up with the barcode, but the user may also be prompted to take a photo.
Step 9 - Selfie & Liveness Check
Selfie
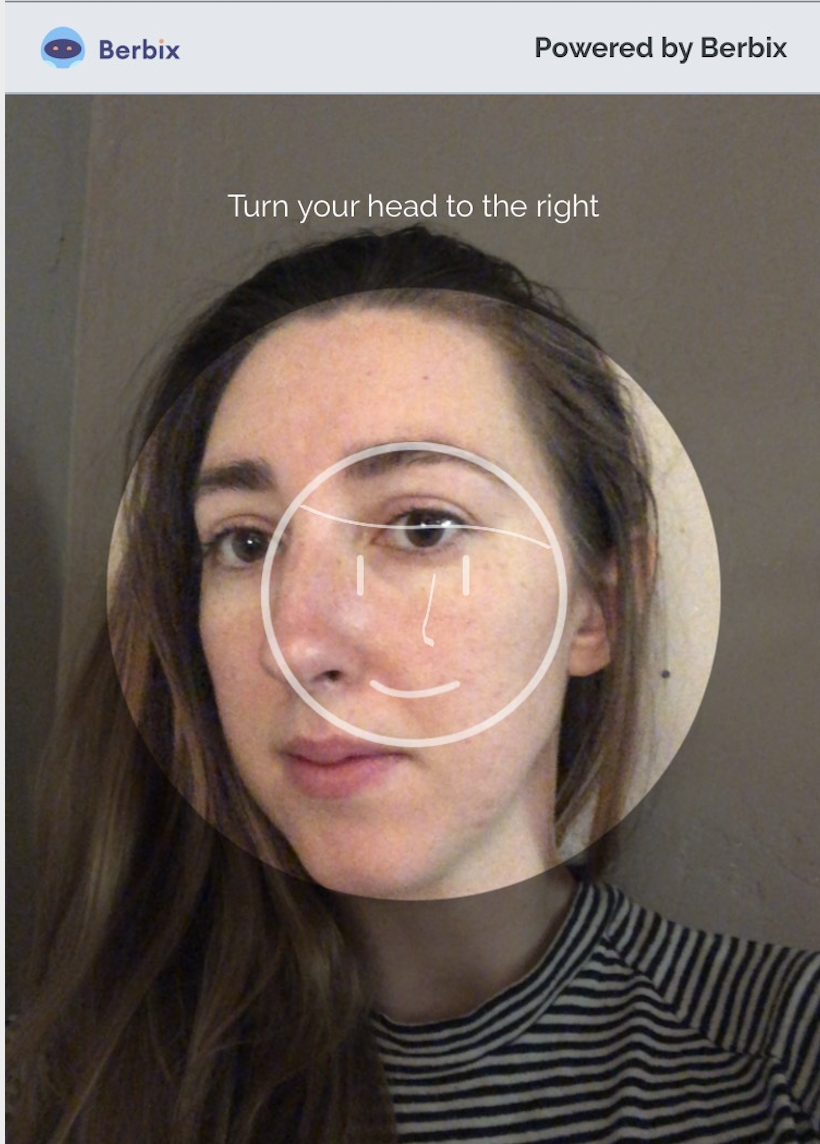
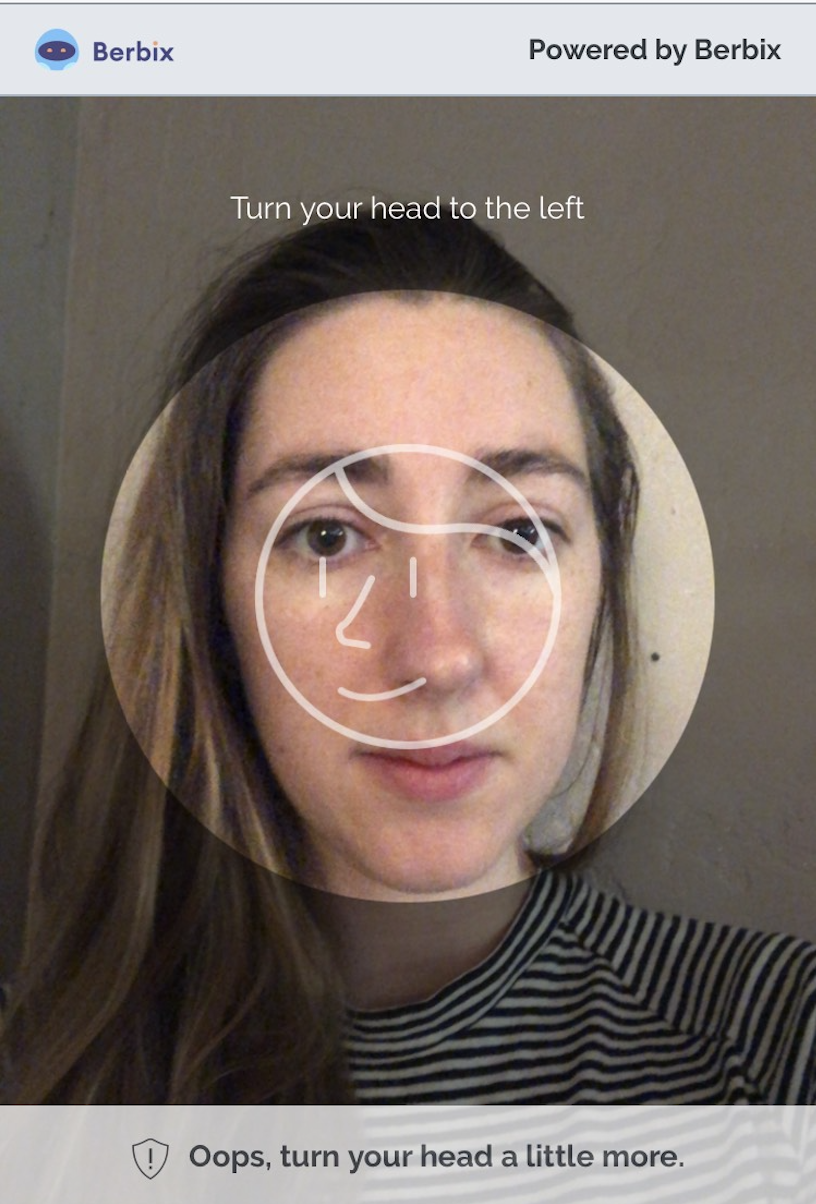
The user is then instructed to take a photo of themselves to compare with the photo on the front of their ID.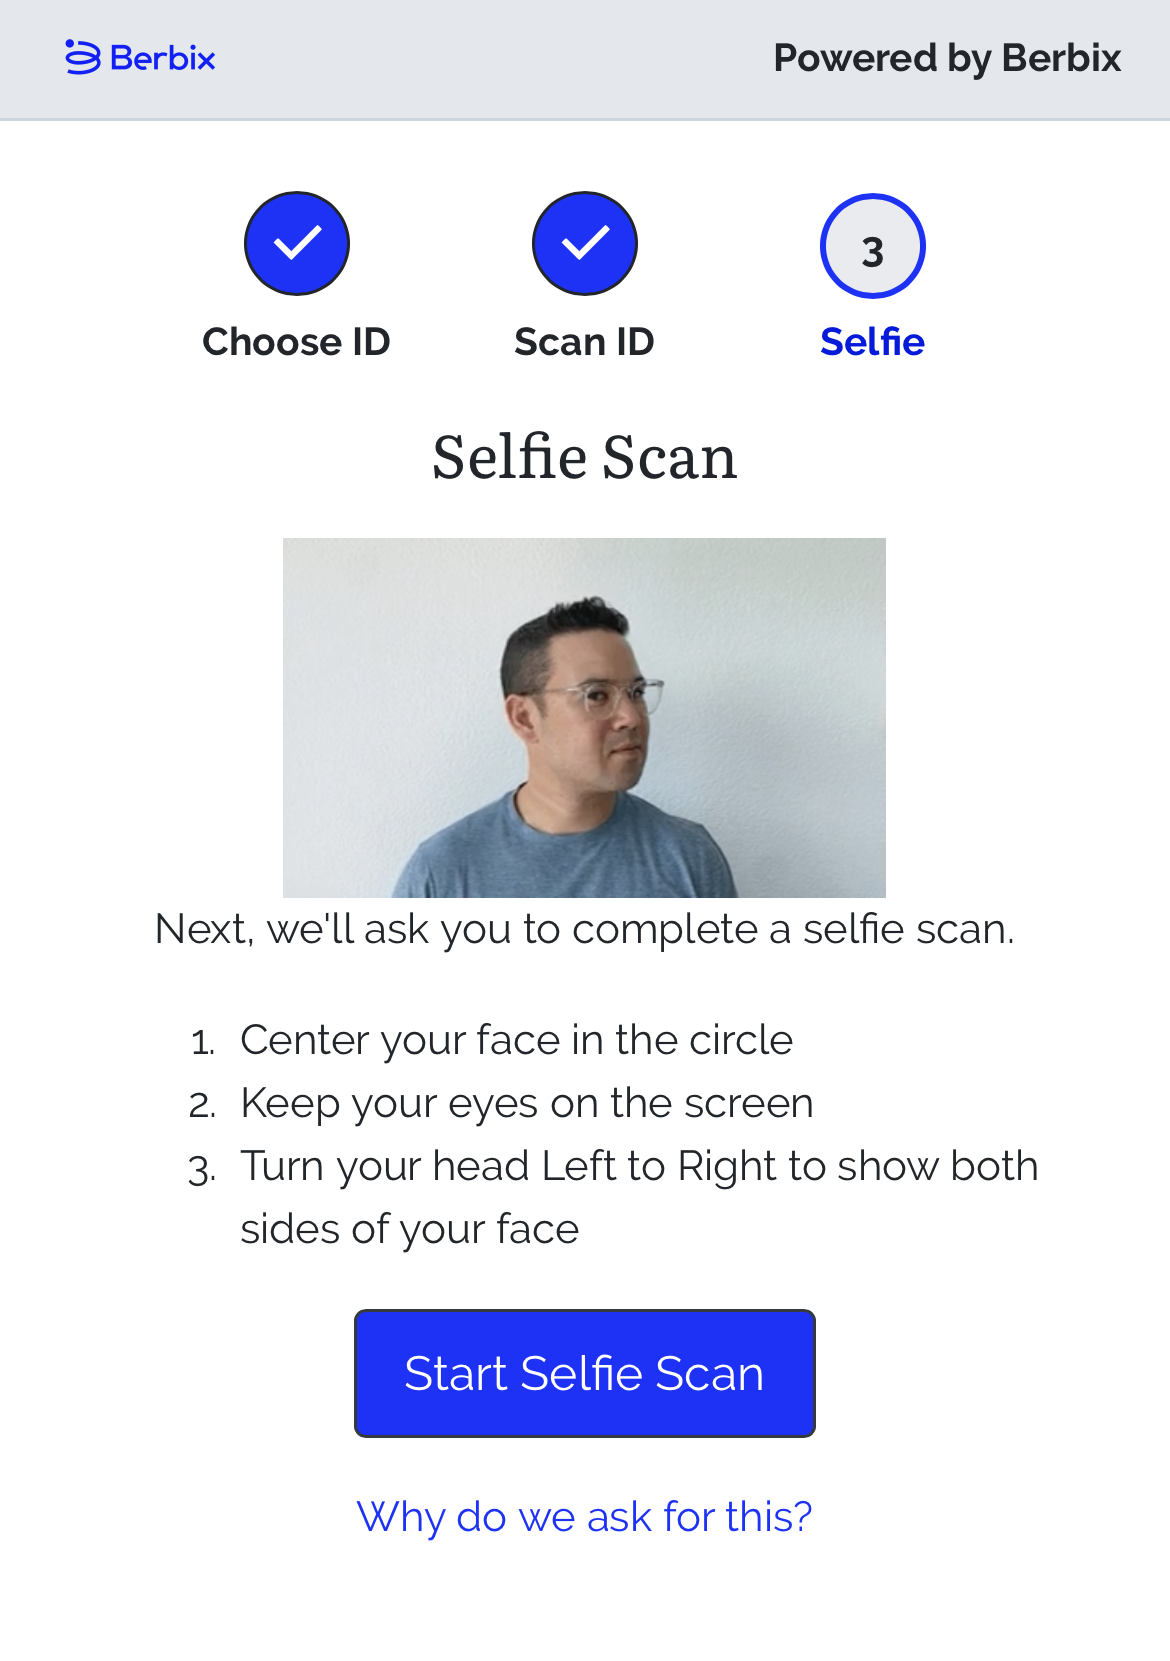
If included in your Template, the user is prompted to look left and right. We capture a series of individual images to compare to the initial selfie, and to verify that the user is present and following the instructions on screen.
